
Hey there, crafty friends! Let’s talk markers! Stampin’ Up! has two fantastic options in their product line, and depending on your project, you might reach for one over the other. But fear not, both Stampin’ Write Markers and Stampin’ Blend Markers can definitely become your go-to coloring companions!
Stampin’ Write Markers: Your True-Color Champs
Think of Stampin’ Write Markers as the workhorses of the coloring world. These water-based markers, just like the ink pads you know and love, come in a dual-tip glory: a brush tip for those fine details and a bullet tip for coloring larger areas. And because they’re water-based, you can use them to directly color on your stamped image or even ink up your stamp itself for a perfectly coordinated look!
Stampin’ Blend Markers: The Blending Bosses
Stampin’ Blend Markers, on the other hand, are alcohol-based masters of mixing and mingling. They typically come in packs of two, with one marker a lighter shade and the other a darker shade of the same color. This two-marker approach is what gives you that gorgeous range of shadows and contours – perfect for bringing your stamped images to life! Now, I’m not gonna lie – I’m no coloring expert. But I do love grabbing a few Stampin’ Blends and going wild, adding layers of color to make my stamped creations pop.
Just a heads-up: Since alcohol markers are known for their ability to blend with nearby inks, make sure you’re using an ink-fast stamping ink. That way, you won’t get unwanted black outlines bleeding into your beautiful colored image!
From Storage Struggles to Cricut-tastic Solutions!
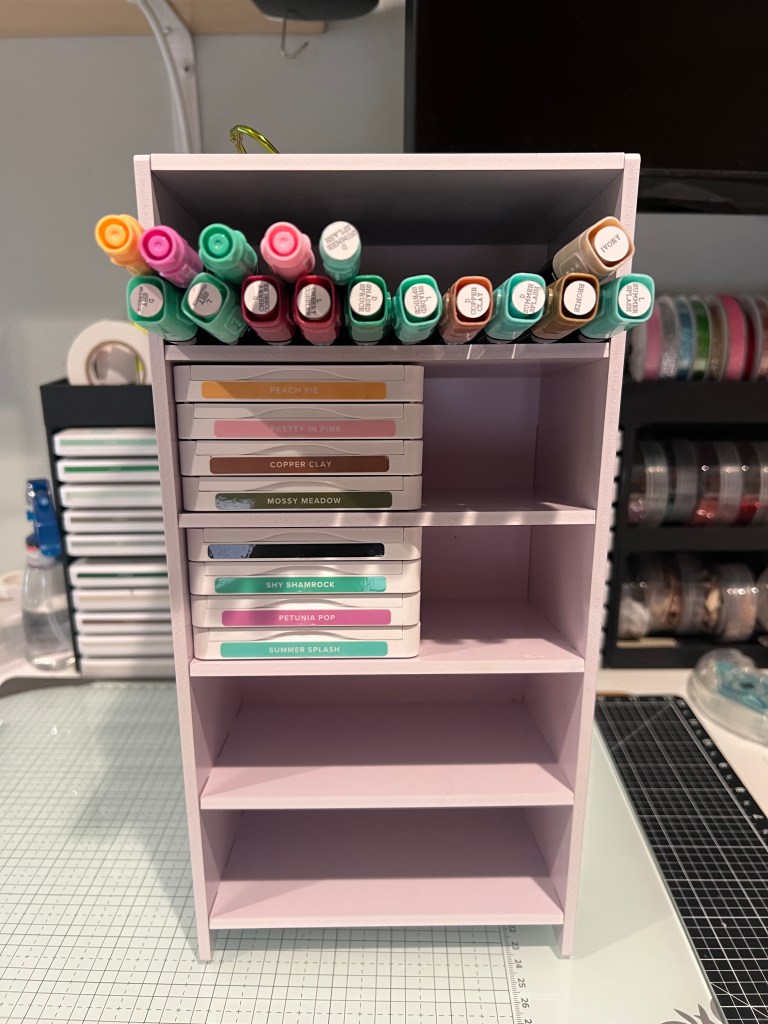
Now, let’s talk about the not-so-fun stuff: marker storage and identification. In my craft space, those were constant battles! Luckily, a little Amazon browsing and some Cricut magic came to the rescue.
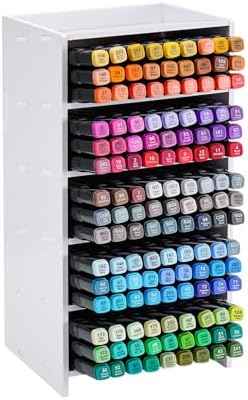
First, I found a marker holder that keeps everything nice and organized on my desk.
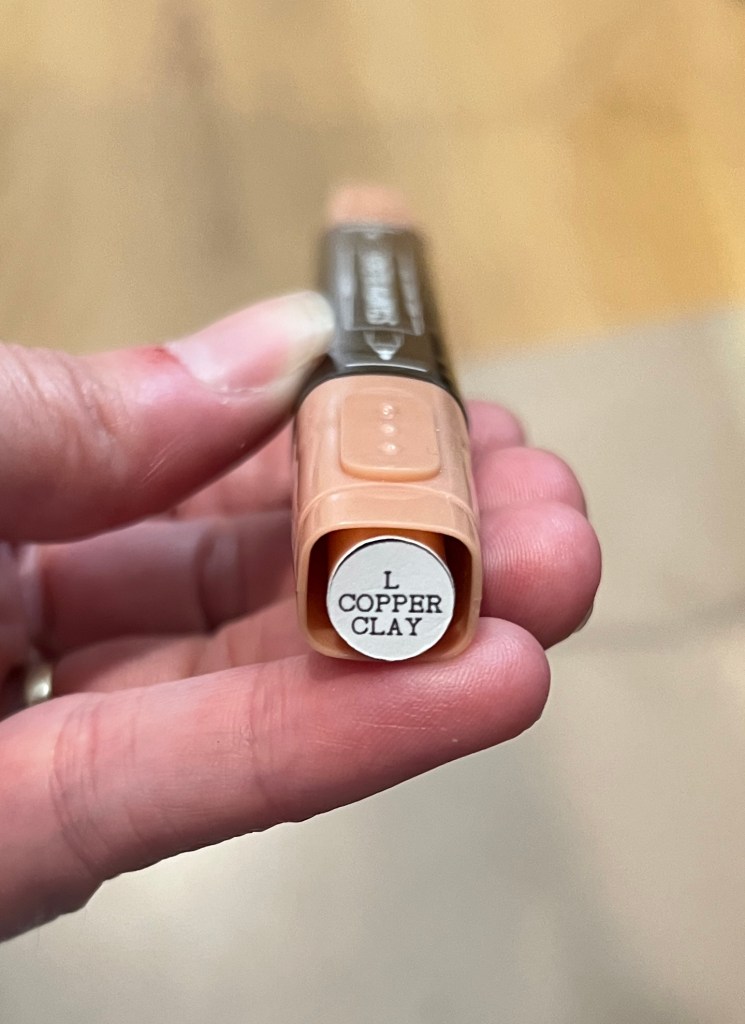
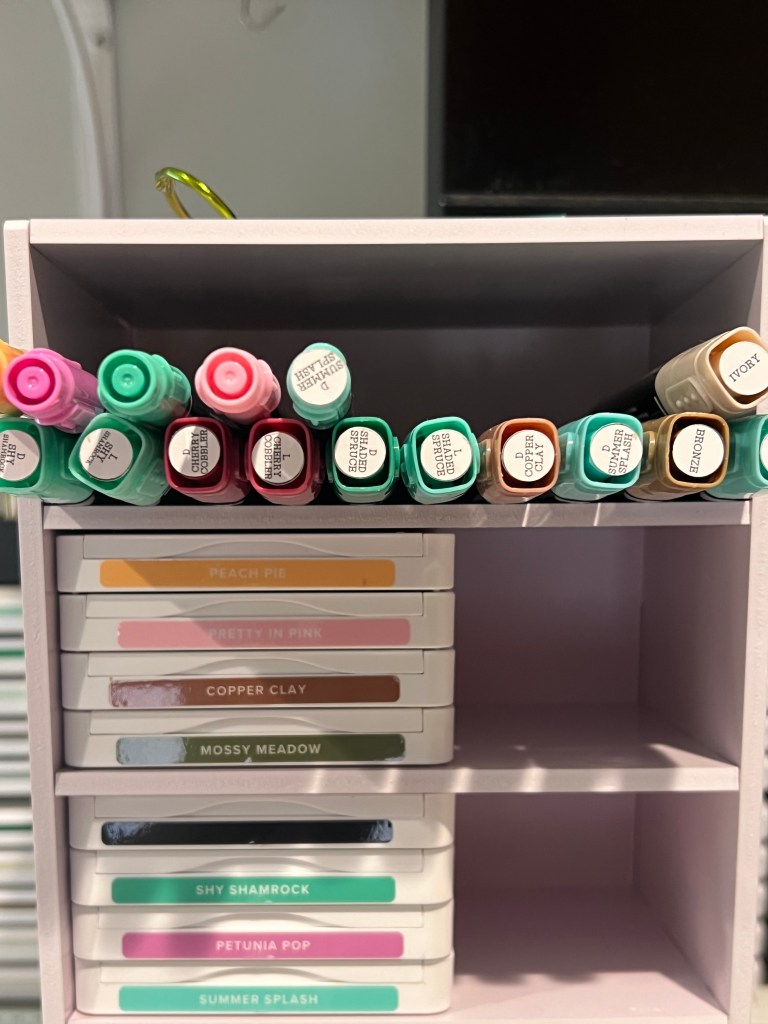
But even with the holder, I still had trouble telling which marker was which at a glance. Enter my Cricut! I whipped up a Print and Cut file to create labels for the ends of the markers. (Shoutout to Angie Kennedy Juda over at Chic’n Scratch for the inspiration – her downloadable PDF is awesome too!)
Since I didn’t have the small punch she used, I got creative with my Cricut. I ran a sheet of paper through my printer, added an adhesive sheet to the back (genius, right?), and then let my Cricut do its thing, cutting out perfectly round labels. The adhesive backing makes them super easy to apply, and I even doubled them up to label both sides of the markers. For now, circles work, but I might switch to rectangles later for a bit more writing space.
So, there you have it! A crash course on Stampin’ Up! Markers, along with my personal storage and labeling hacks. Now get out there and get coloring, my crafty friends!
Here are the links again if you did not see them above
SANFURNEY Marker Pen Organizer Holder: https://a.co/d/06duOcaq
My Cricut Print and Cut File: https://design.cricut.com/landing/project-detail/665fa121c03e7b0633b49d2d
Angie’s PDF: https://chicnscratch.com/2022/05/stampin-blends-labels-updated.html


Leave a comment